
Digging Deep: 5 Helpful Tips for Growing Carrots from Seed to Harvest
Growing carrots can be a bit challenging, even for seasoned gardeners. Their specific needs and the mystery of what’s happening beneath the soil can make it a test of patience. However, the reward of pulling your own fresh, crunchy carrots is unmatched. Here are five helpful tips that cover the entire growing process from seed to harvest.
Starting from Seed

Different carrot varieties suit different purposes, so pick a type that matches your needs, whether that’s for cooking, snacking, juicing or storage. Popular varieties include:
Nantes (sweet and nearly coreless, great for juicing and fresh eating)
Chantenay (short and stubby, great for heavy soil, used for freezing and canning, great for containers)
Imperator (long and tapered, stores well, high sugar content, great for fresh eating)
Parisian (a round type, ideal for containers)
Danvers (classic carrot, great for juicing, good for storage)
Carrots prefer being started directly into the garden to prevent root deformities. Seeds can be sown after soil temperatures reach 40°F (4°C), ensuring the last frost has passed. When planting, maintain an optimal temperature range of 50°F to 65°F (10°C to 18°C) to achieve the best germination results. Seeds started in temperatures over 80°F (27°C) will reduce germination success.
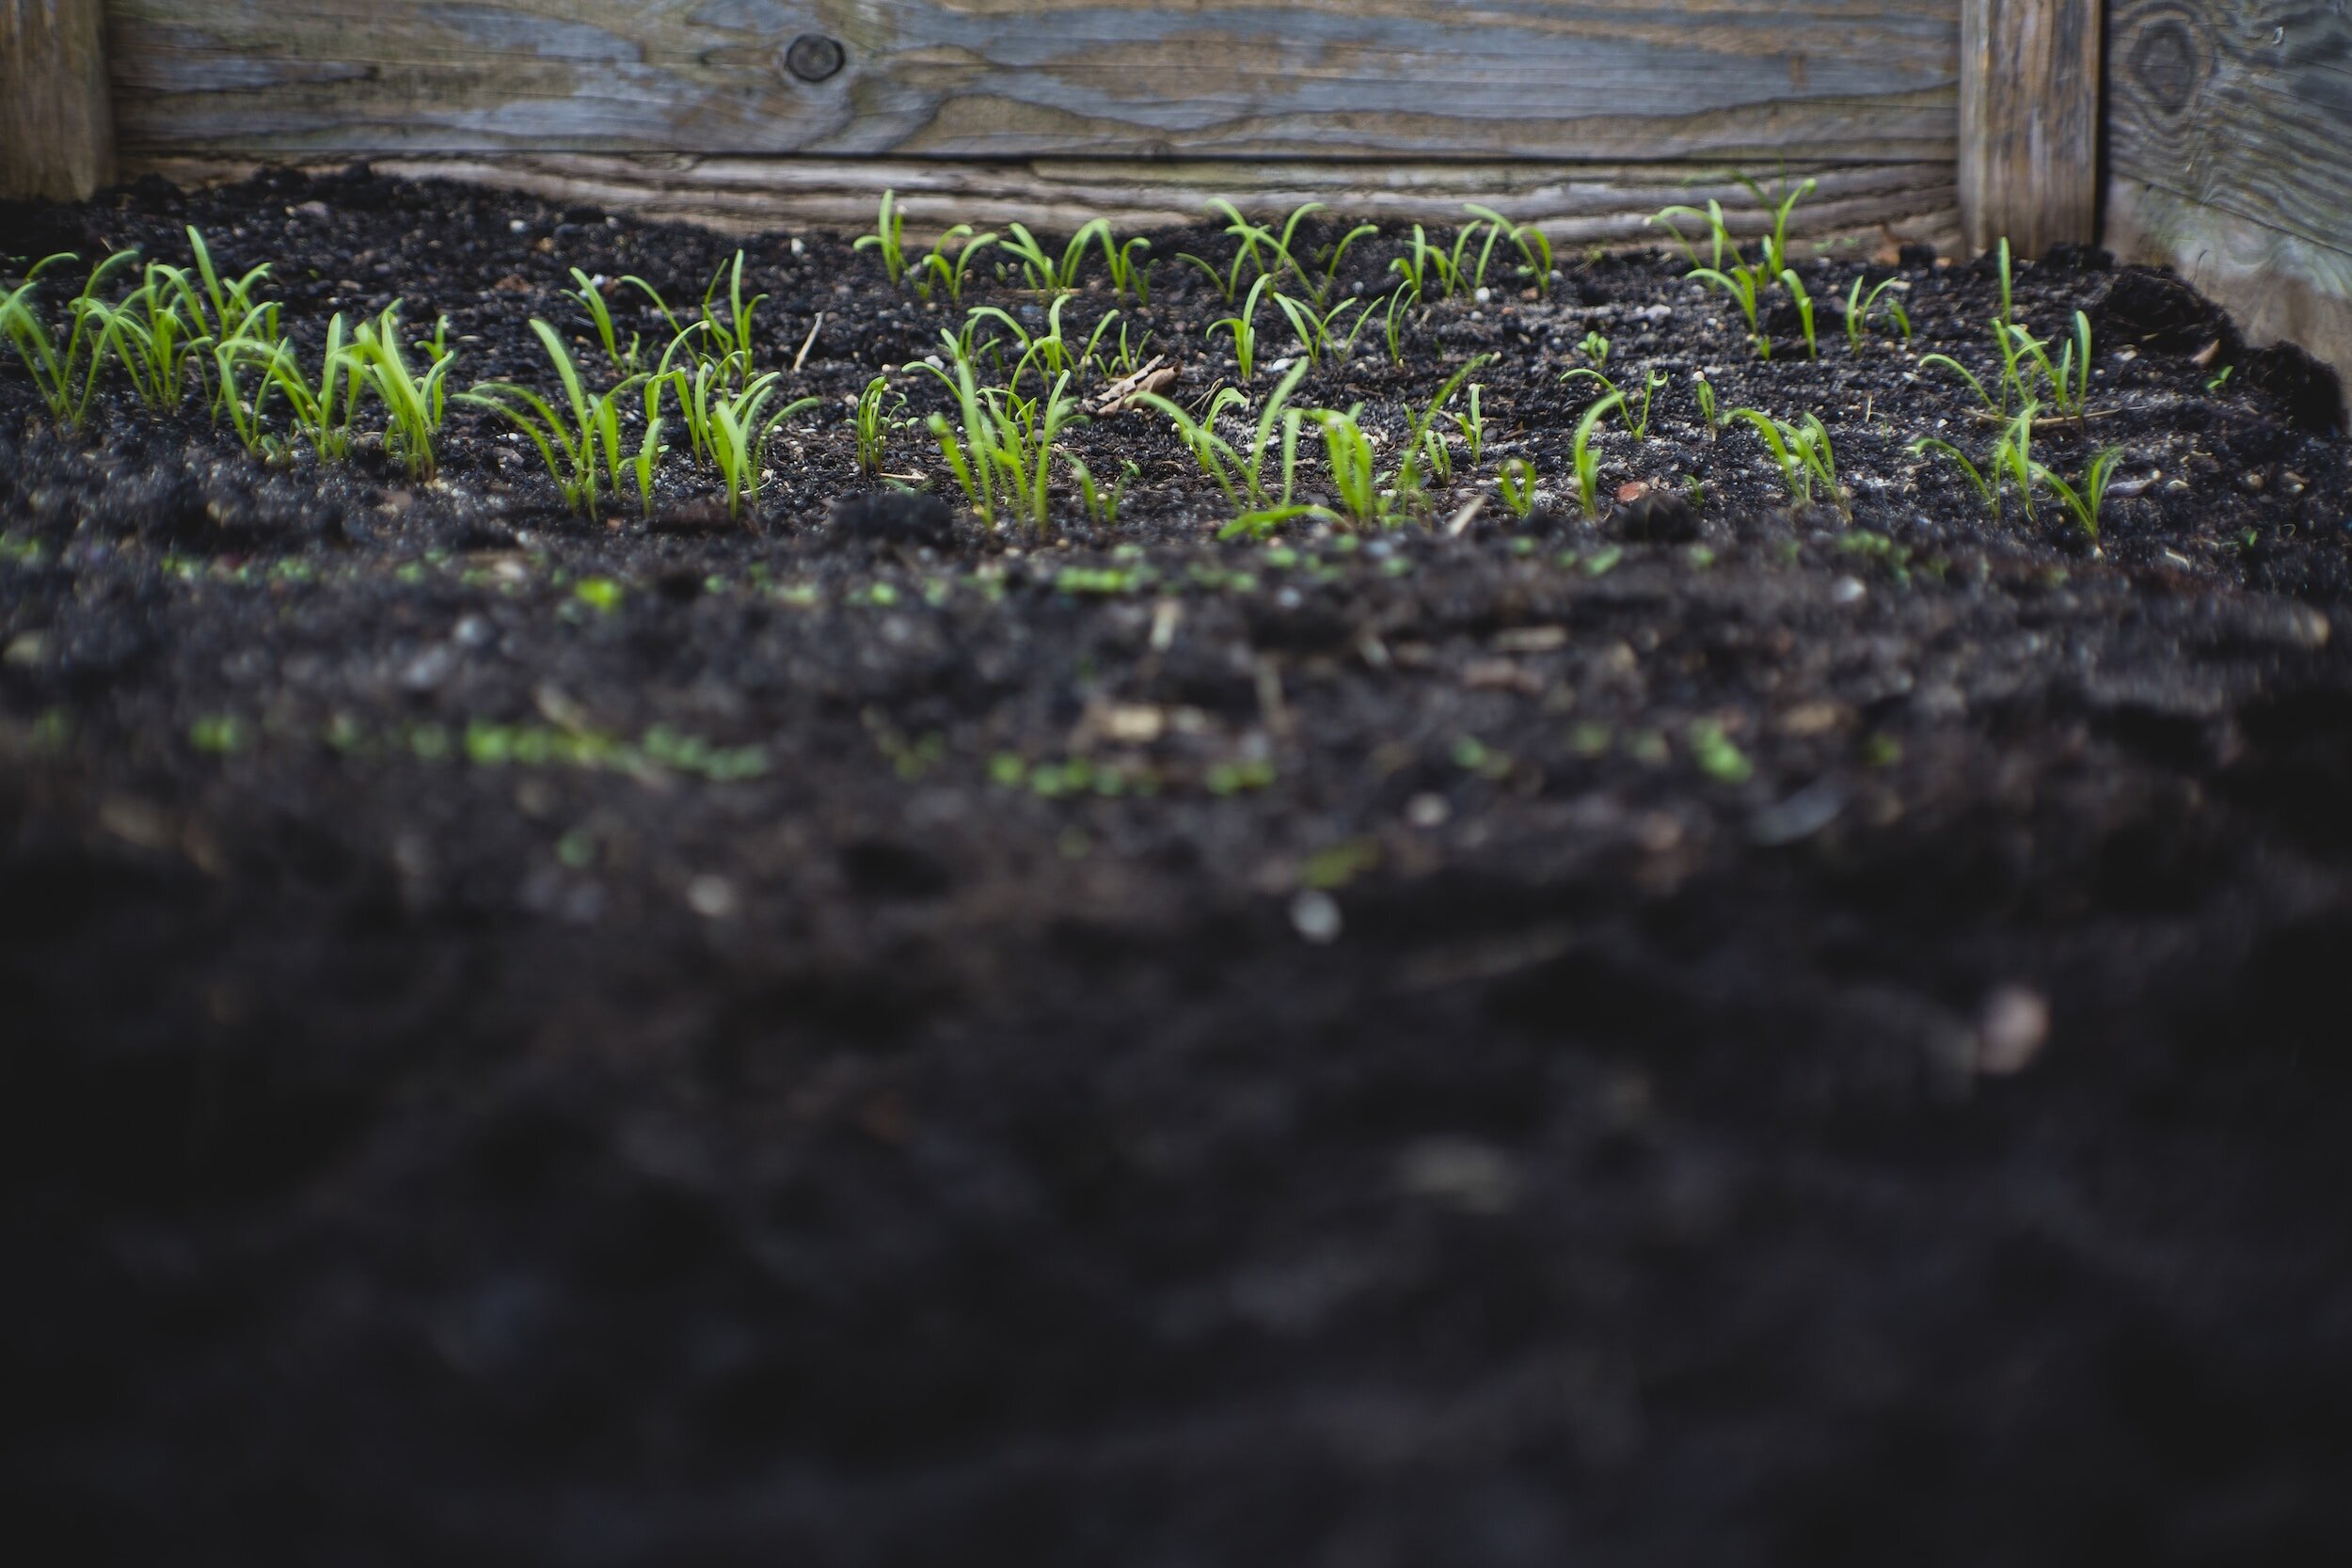
Sow seeds at a depth of 1/4 to 1/2 inch. Given that carrot seeds are tiny and can easily be buried too deep, it’s essential to cover them lightly. It takes anywhere from 14 - 21 days for seedlings to emerge.
Soil

Loose, sandy loam soil is ideal for carrots. It should be free of stones and hard clumps to allow unobstructed growth and prevent misshapen roots. A light mix of well-decomposed compost can provide the nutrients carrots need without the risk of excessive nitrogen which can cause “hairy” roots.
Moisture, Moisture, Moisture

Carrots require consistently moist soil, especially during germination. A light daily sprinkle is better than infrequent watering. To maintain consistent moisture for optimal germination, consider placing an untreated board over the sown area. Keep the board in place until sprouts appear, typically within a week or two, then remove it to allow the seedlings to grow. Applying a thin layer of straw or shredded leaves can help retain soil moisture and prevent weeds. While maintaining moisture is essential, avoid waterlogged soil, which can lead to root rot.
Spacing
Due to the minuscule size of carrot seeds, achieving perfect spacing during initial sowing can be a difficult task. Often, gardeners will sow seeds too closely together, resulting in overcrowded seedlings. If your seeds are sowed too densely, thinning becomes essential. Once seedlings are about 2 inches tall and have their first set of true leaves, thin them to stand about 3 to 4 inches apart. Proper spacing post-thinning ensures healthy growth and sizeable carrot roots. While thinning might seem wasteful, it’s a necessary step to ensure the remaining plants have adequate space and nutrients to thrive. I prefer to thin carrot seedlings by cutting them at soil level to avoid disturbing the roots of the other seedlings.
Harvesting

While actual growth times may vary, many carrots are ready to harvest in 60-80 days. However, they can be harvested earlier for a sweeter, tender “baby” carrot.
To determine whether your carrot is ready to harvest, take a peek at the carrot’s shoulder (the top of the carrot protruding from the soil). A diameter of at least half an inch usually suggests it’s time to pull.
To harvest, gently grab the carrot’s greens close to the soil level and wiggle while pulling up. In heavily compacted soils, use a fork to ease the process, ensuring you don’t puncture the carrot.
With the right care and attention, growing carrots can be a rewarding experience. By following these five essential tips, you’re well on your way to enjoying a bountiful harvest of crisp, flavourful carrots right from your own backyard.